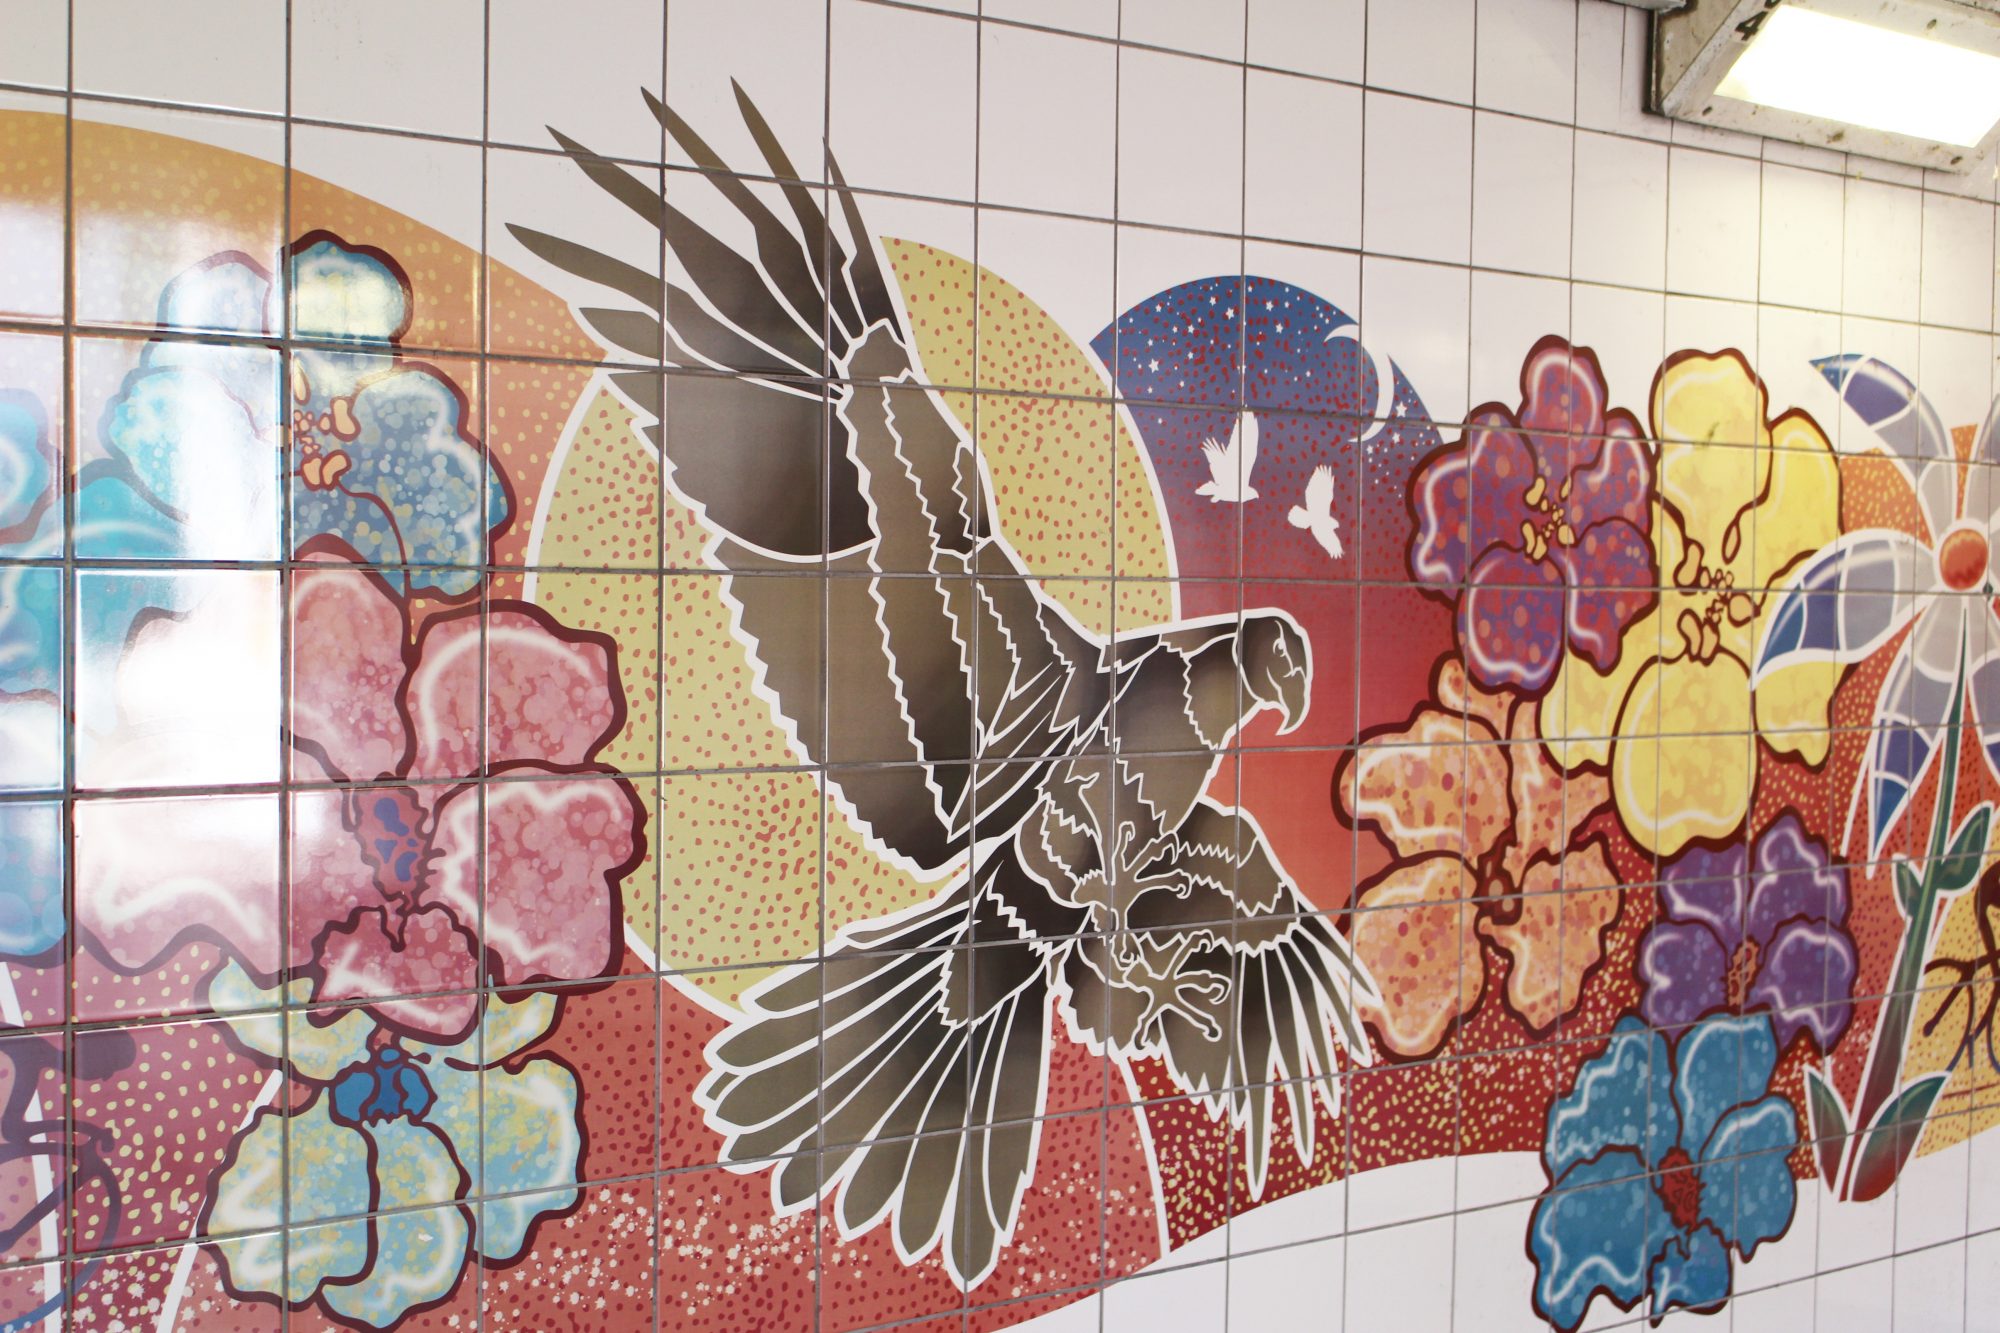
Ceramic tile murals are an outstanding design feature for a wide variety of projects. Superb for creating waterproof artworks in bathrooms, kitchens and wet rooms in residential locations, they also add character to luxe interiors in bars and restaurants where food and drinks are served and spills are an everyday occurrence.
Here, we look at how to design a tile mural from scratch before looking at getting prepared to put one in place and the installation steps involved. Read on for a comprehensive design guide for tile murals.
Design and planning
Every tile mural begins with an inspiring design and careful planning. Having a clear idea of what you wish to achieve and understanding the key considerations involved early on will ensure your tile mural project installation is smooth and stress free.
Choose a design
Start by selecting a design. You’ll find inspiration in architectural magazines and sites online specialising in interior design. Colour is a key consideration, so make sure that the hues you pick will complement the interior or exterior you’re working in.
Measure the space
Take down detailed measurements of the space where your tile mural will be fitted. Let the dimensions determine the best shape and size for your mural. You can now determine the type of tiles you wish to use and how many you’ll need to complete your design. Remember to account for cuts and possible errors and order an extra 10% more tiles.
Create a blueprint
Making a full-scale sketch of your mural design on paper is a wise move. If you ensure it matches your measurements, you’ll have a full-size blueprint of your mural to work with.
Consider tile layout
Layout is critical for visual impact and correct installation. Important considerations include centring designs, balancing cuts and minimising narrow tiles. It is also crucial to consider the orientation of the mural relative to the room’s dimensions and the amount of light it receives.
Mark the centre
Always establish where the centre of the mural is as this where installation begins and moves outwards. This helps prevent uneven cuts and supports symmetrical tile placement.
Ensure a square layout
Square tile layouts are vital to create visually appealing tile murals with a professional finish, especially when square tiles are used. A square layout supplies symmetry, minimises visual distractions and enables easier alignment and simplifies cutting tiles.
Preparing the tiles
With planning and design complete, you can now prepare your tiles for installation. Ultimately, the better prepared you are, the less stressful the tile mural installation
Transfer the design
There are various ways to transfer designs to tiles. While traditionally, carbon paper and tracing paper has been employed, more modern approaches include the use of opaque projectors or sublimation printing, which involves printing a design on a special type of paper and transferring it to tile by employing pressure and heat.
Prepare the tiles
To ready tiles for a mural, first thoroughly clean and degrease them. If necessary, sand them with fine-grit sandpaper to create a rougher surface and enhanced grip. Finally, add a tile primer to your prepared surface before you paint the mural design.
Paint or decorate tiles
Some tile mural creators paint directly onto tiles, but there are other ways to decorate them. Following your chosen colour palette and design, you can apply and underglaze to tiles. Layered glazes can add detail and depth
Outline
Sketching an outline of your design on the wall can facilitate accurate placement of the tile mural.
Installation
An effective tile mural installation has several steps to follow to ensure best results.
Prepare the wall
Ensure that the wall receiving the mural is clean, even and dry. You can apply mortar to improve the smoothness of the surface that includes ridges to promote adhesion.
Install tiles
Make sure that you place the mural tiles carefully on the mortar. You can use spacers to ensure gaps remain consistent. If you’re constructing a largescale mural, it is often advisable to break down your design into smaller sections and fit them one area at a time.
Grout
With the mural tiles now in place and the mortar dry, you can use grout to fill in all the spaces in between the tiles.
Seal
Finally, to protect your mural against stains, consider adding a seal to the completed work.
For expert help and high-quality tiles to create tile murals contact us today at Digital Ceramics.


